A quick guide to successful cloning.
What is cloning?
Cloning is taking a cutting from an existing plant (the mother plant) and creating a carbon copy of it. The clone or cutting will be exactly the same as the mother plant.
Things you’ll need for successful cloning.
- Propagator
- Propagation light and timer
- Heat mat (depending on time of year)
- Sharp scissors and scalpel
- Rooting hormone such as Clonex, Rootex or Root-it.
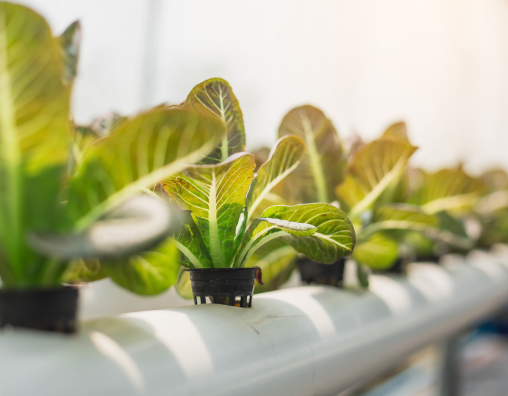
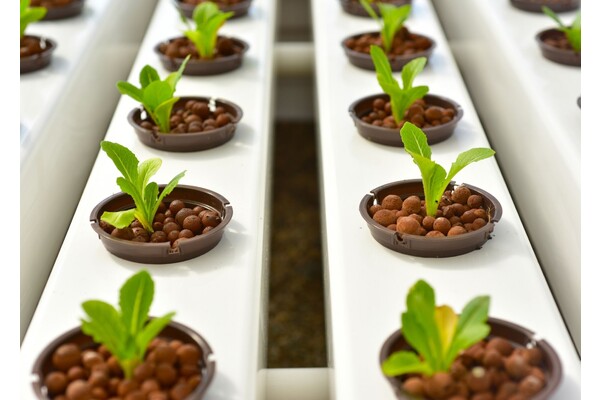
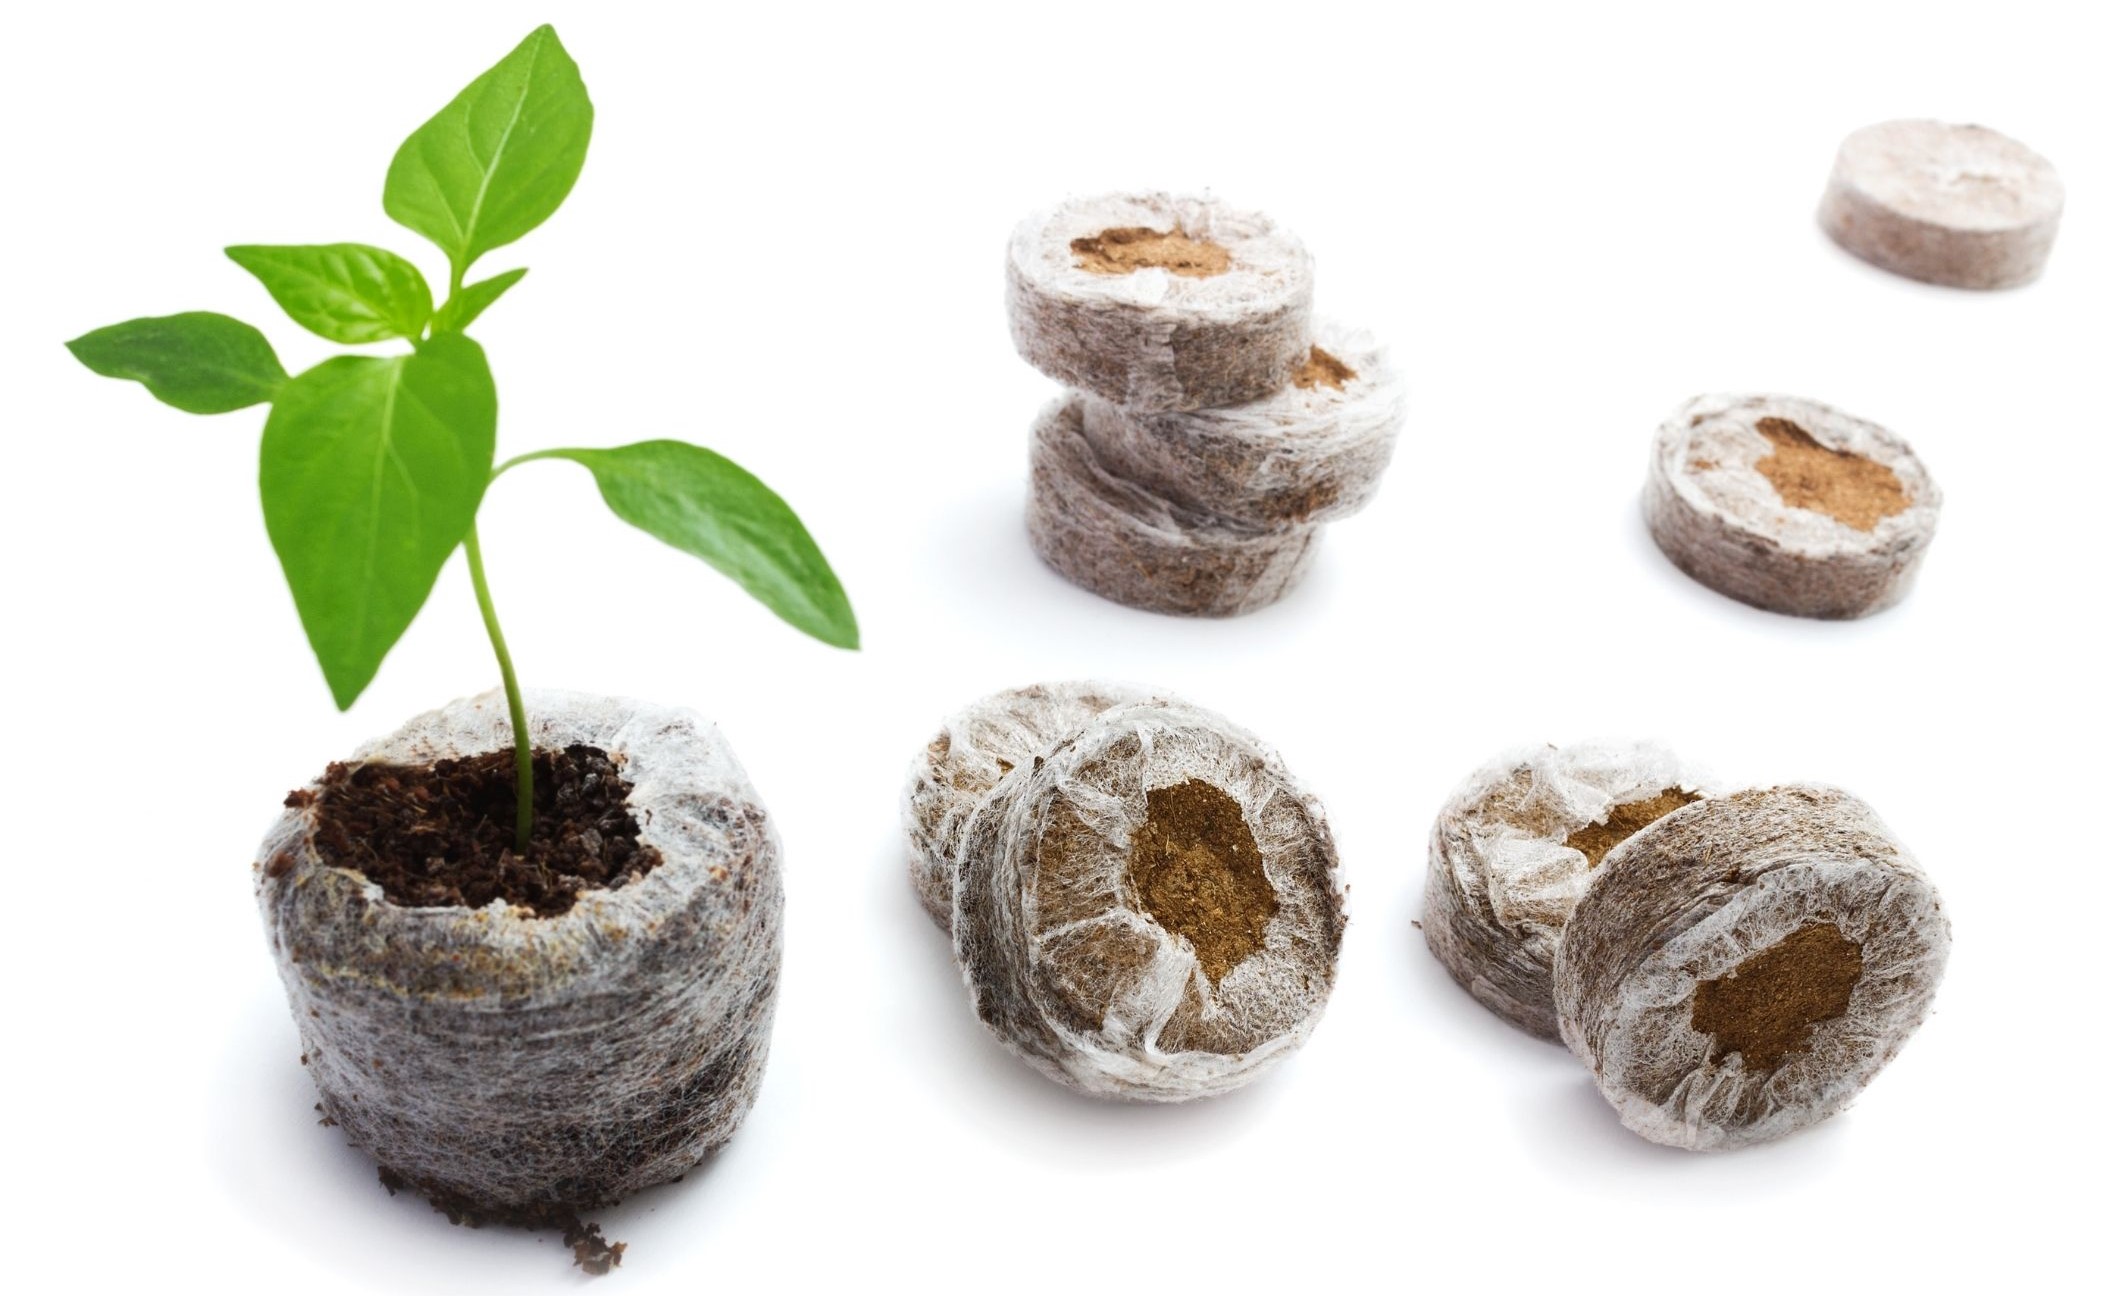
- Growing media such as Rockwool, Jiffy, Eazyplugs.
- Root booster
- Ph Up and Ph Down
- Water Ph adjusted to 5.5/5.8
- Cup
- Spray bottle
Environment is key to efficient and successful cloning.
Light
A propagation light such as a T5 Fluorescent tube or Growsaber LED is recommended, as cuttings require minimal light while in the propagator. The light should be linked to the timer and set to 18 hours on and 6 hours off (e.g on at 6am off at 12am).
Temp
The ideal temperature inside the propagator is 24 to 26 degrees C.
Humidity
Humidity is extremely important!
For the first five to seven days humidity should be 90 to 100 per cent. This stops the cutting from losing its moisture to the environment.
After the fifth to seventh day, start to slowly lower the humidity by opening the vents on the propagator, start by opening the vents by 25 per cent.
The following day, open them to 50 per cent and the next day, fully open the vents.
This slowly drops the humidity allowing the clone to harden off and adapt to a less humid environment.
Lets get cloning
Setting up the propagator
If a heat mat is required to maintain temperature in the propagator, you will need to set up the propagator and plug in the heat mat 12 hours before taking any cuttings.
This allows the propagator to create the optimal environment.
Preparing the medium
Soak the medium you are using (Rockwool, Jiffys or Eazyplug) in water and a root booster, such as Kraken Roots, that is Ph adjusted to 5.5/5.8. Gently squeeze out any excess water from the medium so they are not saturated.
You want the medium to be moist, not saturated!
Mother plants
When it comes to taking cuttings ensure your mother plant that is being cloned is in a healthy condition, free from pests and disease. Plants under stress will likely not survive! It is also recommended to take cuttings while the mother is in a vegative state. Plants that are in flower can be cloned but will take a lot longer as they have to revert to that vegative state.
Taking and preparing cuttings
Cuttings can be taken from anywhere on the plant. However for the best results, cuttings should be taken from the top lateral growth. Cut below the node and remove the bottom leaves, leaving the top two sets of leaves.
Then place the cutting in a cup of room temperature water to remove any air in the plant tissue.
Setting the cuttings
Using a sterile scalpel, cut the stem of a cutting at a 45 degree angle just below the node. Then, immediately place it back into the cup of water to remove any air in the plant tissue.
They are then ready to be dipped into Clonex or another rooting hormone, ensuring a good coverage of the stem where the 45 degree cut was made.
Then place the cutting into the grow medium, ensuring a tight fit around the stem and place into the propagator.
Care for the cuttings
For the first five to seven days, check that the propagator is maintaining optimal temperature and humidity levels. You can increase the humidity by misting the plants and lid of the propagator with water and a root booster that’s Ph adjusted to 5.5/5.8.
Also monitor the grow medium ensuring the medium remains moist (remember moist NOT wet). If the medium has dried out, use a water and root booster that’s Ph adjusted to 5.5/5.8.
After the fifth to seventh day, start to slowly lower the humidity by opening the vents on the propagator, start by opening the vents by 25 per cent.
The following day open vents to 50 per cent and then the next day, fully open the vents.
This slowly drops the humidity allowing the clone to harden off and adapt to a less humid environment.
After the vents have been 100 per cent open for one or two days and you can see white healthy roots coming out of the grow medium, you can remove the lid of the propagator.
Ensure you keep a close eye on the cuttings for their first few hours with the lid off. If they show any sign of wilting, place the lid back on the propagator and leave for another day or two.
Once they have hardened off to their new environment, they are ready to be transplanted and moved on to the next stage of growth.